Introduction: Expert Tips to Repair Damaged Nails
Let’s be honest—we all love the instant glamour that acrylics bring. There is something about that perfect, sharp manicure that just makes you feel put together. But have you ever sat in your chair after the technician pops those extensions off, only to stare at your real nails in horror? They’re thin, they’re peeling, and they feel like paper.
Trust me, you aren’t alone. I’ve heard from so many of our The Style Click readers that the “aftermath” is the hardest part. But here is the good news: you don’t need a salon miracle to fix this. With the right care and a bit of patience, your natural nails can become stronger than they were before. Let’s walk through the exact steps to get your healthy nails back.
1. The Reality Check: Why Do Acrylics Actually Damage Nails?
Before we start fixing the damage, we need to understand what went wrong. Most people think it’s just the product, but it’s usually the process.
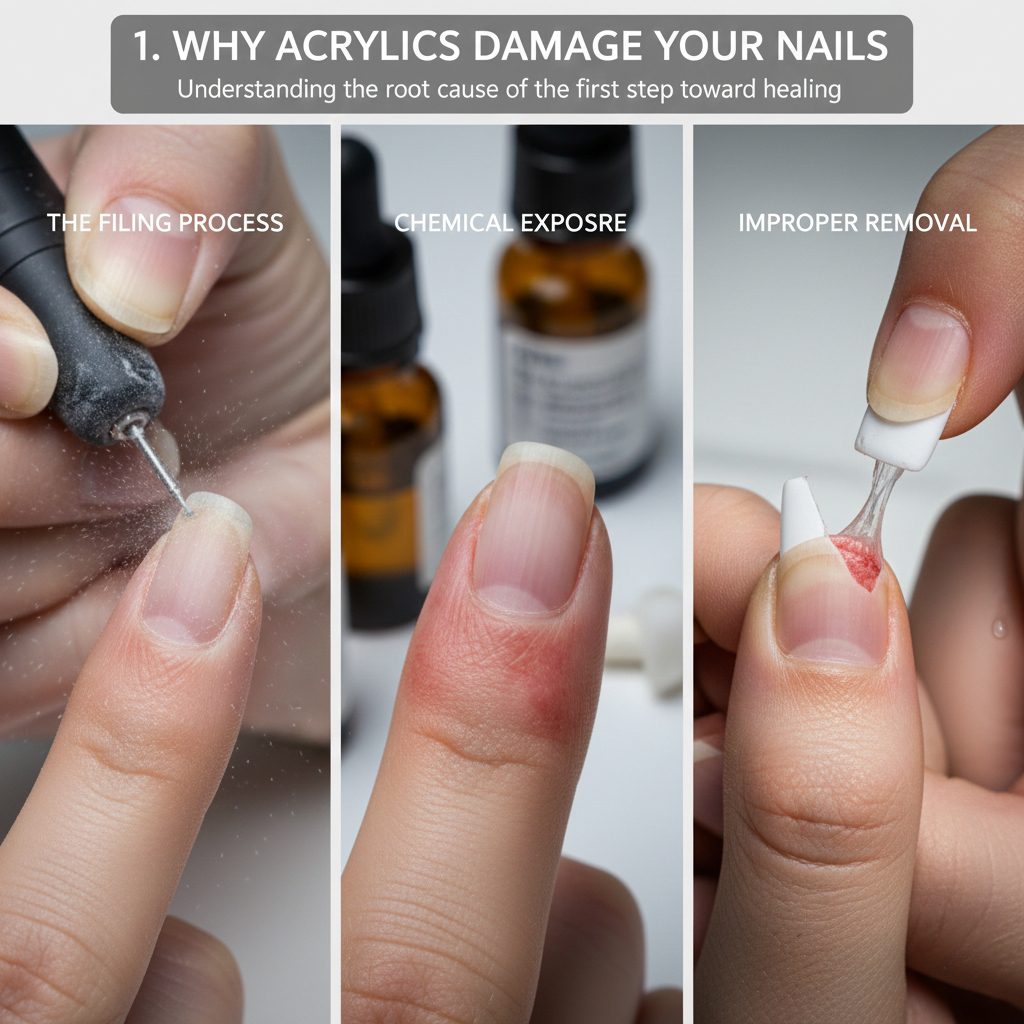
- The Over-Filing Trap: To make the acrylic adhere, some techs use an electric file to strip the top “shine” off your nail. That shine is actually your nail’s protective layer. Once that is gone, your nail becomes porous and weak.
- The Chemical Vicious Cycle: Acrylics involve harsh monomers. If your nails are already prone to dryness, these chemicals act like a sponge, soaking up all the natural oils from your nail bed.Many experts note that excessive heat during the curing process or improper chemical handling can further weaken the nail bed. For more professional guidance, see the nail care tips from the American Academy of Dermatology
- The Removal Trauma: Have you ever tried to “pop” your acrylics off when they start lifting? Don’t! When you pry them off, you are literally pulling layers of your natural nail plate with them. That’s why your nails feel so thin afterward.
[Pro-Tip: Have you ever accidentally peeled off your nails at home? Let me know in the comments below—I know I’ve been guilty of this before!]
2. The Golden Rule: The 48-Hour Dehydration Phase
You just got the extensions off. Your nails feel sensitive, maybe even a little sore. What’s the first thing we usually do? We rush to get a new set or apply a thick layer of gel polish to hide the damage.
Stop right there.
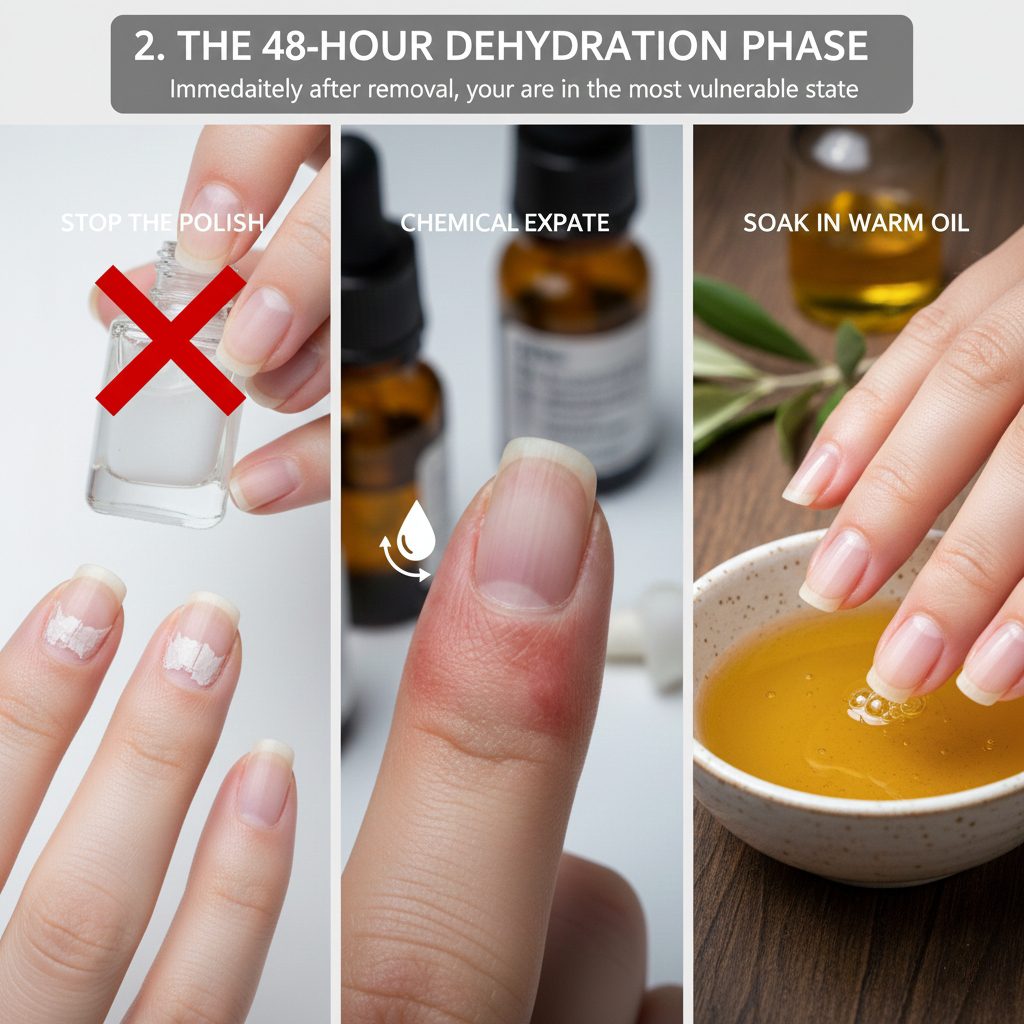
For the first 48 hours, your nails are essentially “naked” and hyper-vulnerable. They need to breathe and, more importantly, they need hydration.
The Oil Soak Technique: This is my favorite home remedy. Take a bowl, fill it with warm jojoba oil or olive oil, and soak your fingertips for 10 minutes. Because your nails are currently porous, they will soak up this oil like a plant getting water after a drought.
Skip the Polish: Put down the nail lacquer. Your nails need to recover their natural moisture balance.
3. Smart Tools for Recovery: Throw Away That Emery Board!
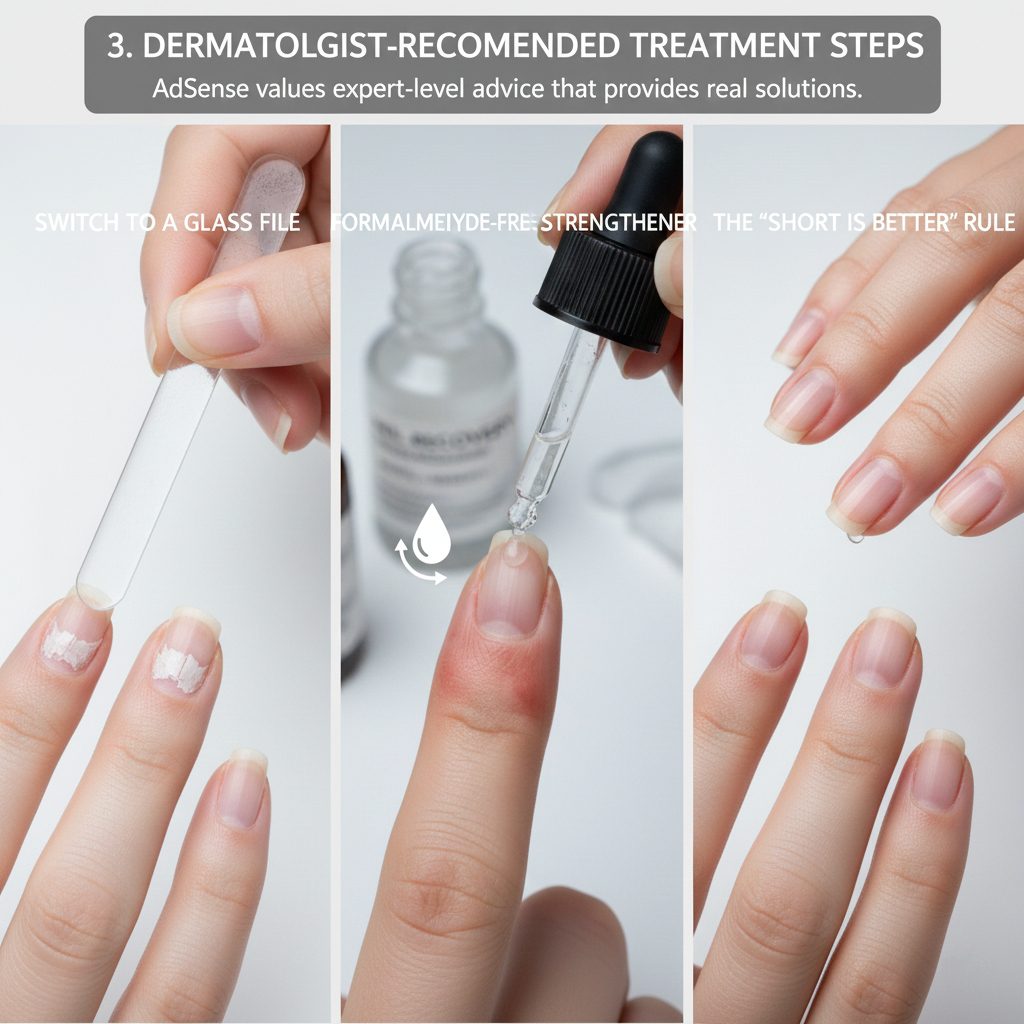
Did you know that not all nail files are created equal? If you are using those cheap, gritty emery boards on damaged nails, you are actually causing micro-tears.
The “Short is Better” Strategy: I know we all want long nails, but when your nail plate is paper-thin, every extra millimeter is just another point of leverage for your nail to bend or break. Keep them trimmed short until they feel firm again.
Switch to a Glass File: A glass (or crystal) file is a total game-changer. It doesn’t rip the edges of your nail; it seals them. It makes the edge smooth, preventing that annoying “peeling” effect.
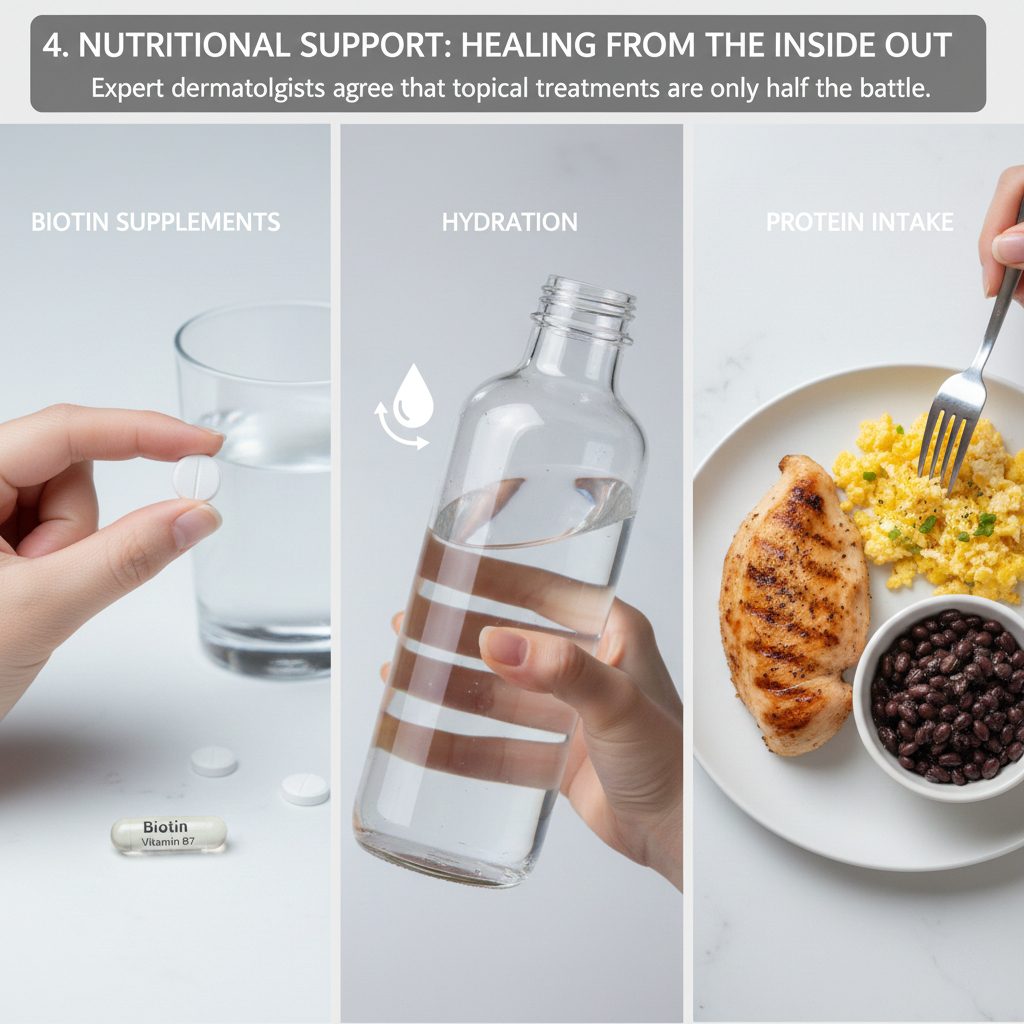
4. Nutrition: Can You Eat Your Way to Stronger Nails?
We focus so much on what we put on our nails, but we forget about what we put in our bodies.
Hydration: It sounds simple, but drinking enough water is the easiest way to prevent brittle, “cracked” looking nails.
Biotin (Vitamin B7): There is actual science behind this. Studies have shown that consistent Biotin intake can increase nail thickness.
Protein is King: Your nails are made of a protein called Keratin. If your diet is low in protein (eggs, lean meat, lentils, nuts), your nails will be the first place to show it.
5. My Top Product Picks (USA Market Favorites)
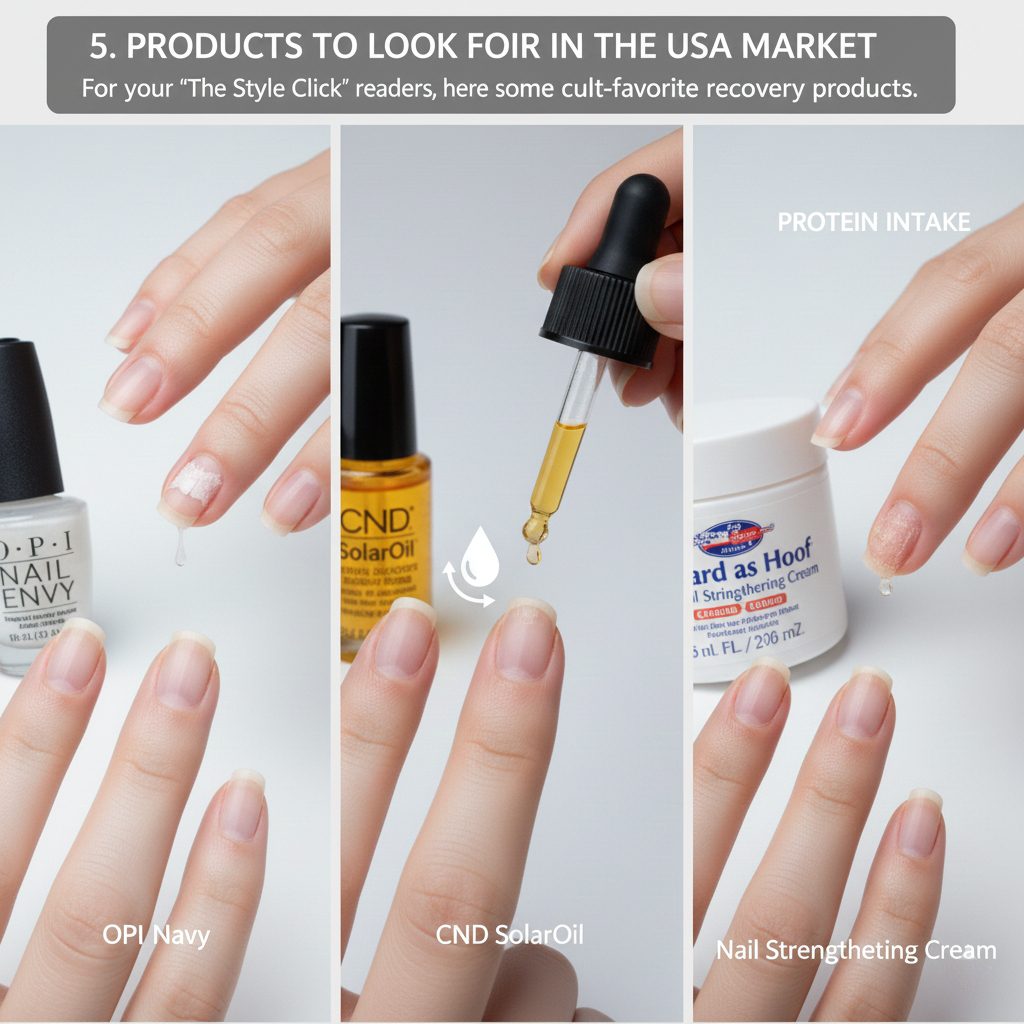
If you’re looking to invest in a few items to speed up the process, here are the three that I personally swear by:
Hard as Hoof: This is a fantastic, affordable cream that you can rub into your cuticles every night. It’s like a superfood for your nail bed.
OPI Nail Envy: This is the gold standard for a reason. It acts as a strengthener and gives your nails a nice, healthy shine while they heal.
CND SolarOil: If you only buy one thing, make it this. It uses jojoba and Vitamin E to penetrate deep into the nail matrix.
6. When Should You Actually See a Doctor?
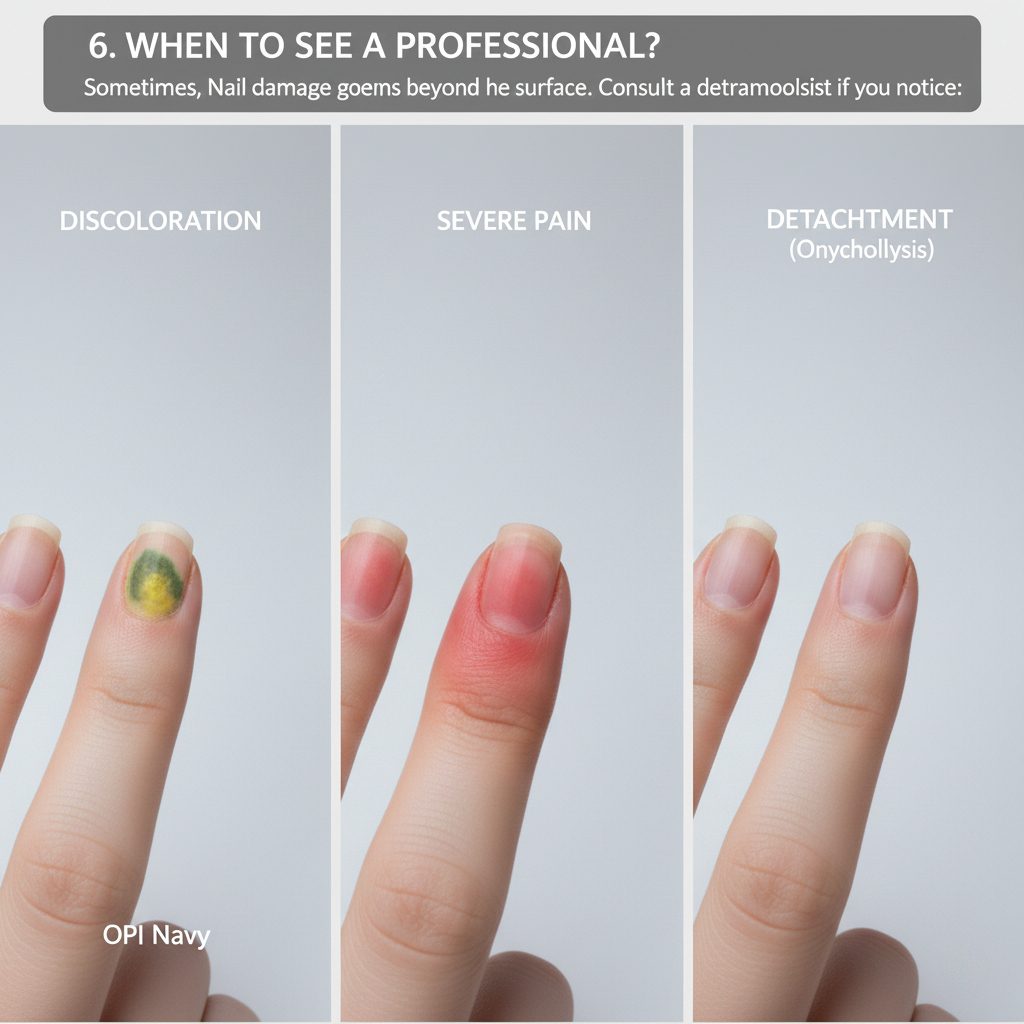
Sometimes, what looks like “acrylic damage” is actually something else. Keep an eye on your nails. If you notice any of the following, please skip the home remedies and visit a dermatologist:
Severe Pain or Swelling: If your nail bed is throbbing or red, it could be an inflammatory reaction to the chemicals.
Discoloration: If you see green or deep yellow spots, this could be a bacterial or fungal infection that trapped under the acrylic.
Onycholysis: This is where the nail plate starts lifting away from the skin. It’s not normal, and it needs professional medical attention.
Conclusion
Repairing your nails isn’t a race—it’s a journey. It might take a few weeks for your nails to feel like yours again, but trust me, it’s worth the break. Giving your nails a “detox” now is the best investment you can make for your next big event or aesthetic look.
At The Style Click, we believe beauty should never come at the cost of your health. Stay consistent, stay patient, and your nails will be back to their strongest in no time.
[Looking for more ways to level up your self-care routine? Click here to check out our latest guide on The Ultimate Guide to At-Home Gel Manicures: Salon Results on a Budget.
What’s your go-to trick for fixing nail damage? Drop a comment below—I’d love to hear your experiences!