Have you ever walked out of a high-end salon feeling like your bank account just took a hit, only to have your polish start chipping within 48 hours? Trust me, we have all been there! In 2026, the DIY beauty revolution is taking over, and honestly, why shouldn’t it? Getting a professional at-home gel manicure isn’t just about saving those precious dollars—it’s about having the freedom to change your look whenever you want while sitting in your favorite pajamas.
If you are tired of regular nail lacquer failing you, this guide is going to be your new best friend. I’m going to walk you through the art of achieving that mirror-like, chip-free shine that lasts for weeks. At The Style Click, we believe you don’t need a fancy salon appointment to look polished. Are you ready to become your own nail tech? Let’s break it down!
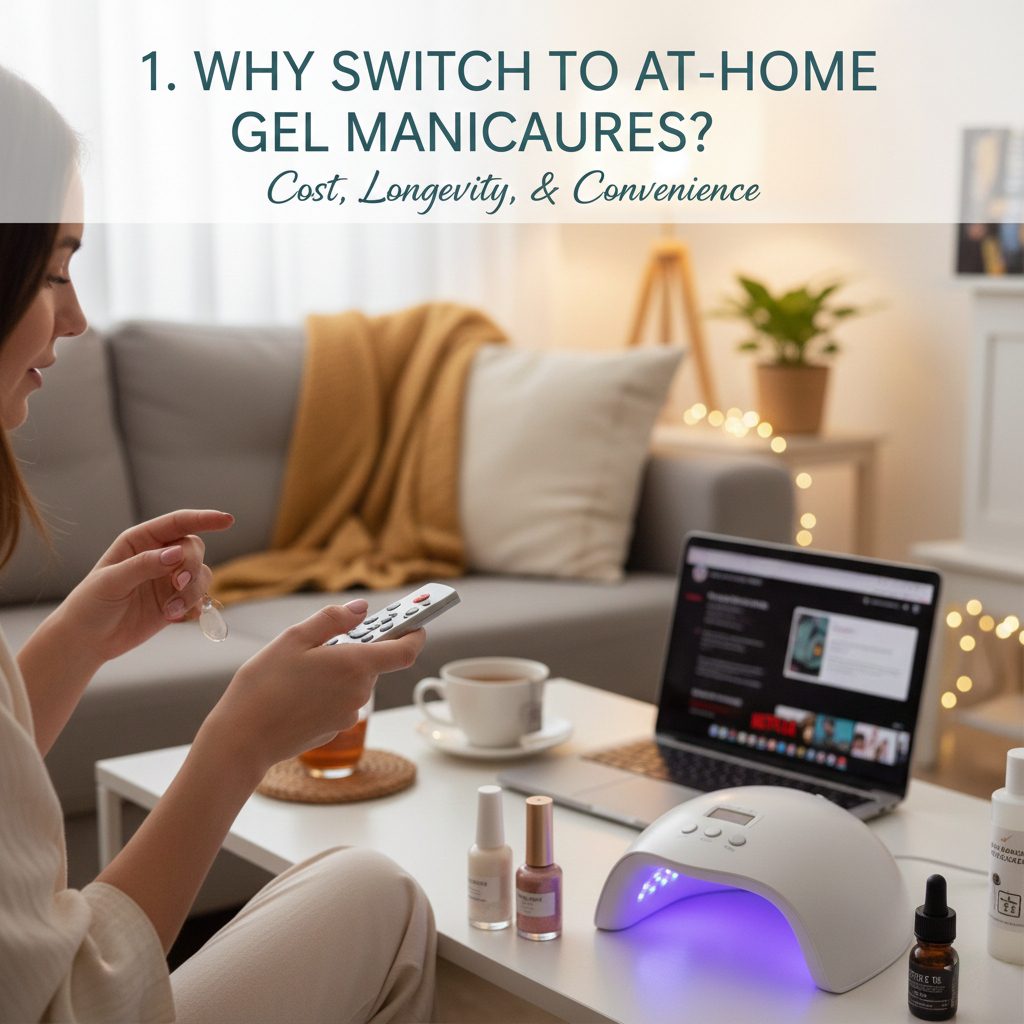
1. Why Switch to an At-Home Gel Manicure?
Before we get into the “how,” let’s talk about the “why.” Honestly, it’s a total game-changer.
- Cost Efficiency: Think about it—a single salon visit can cost anywhere from $40 to $80 depending on where you live. Investing in a quality starter kit pays for itself in just two or three uses. After that? Everything else is basically free.
- Longevity: Unlike regular polish that gives up on you after a day of dishwashing, a gel manicure can easily last 14 to 21 days without losing its luster.
- Convenience: Imagine needing a fresh set for a last-minute dinner date or a weekend trip. No need to hunt for a salon opening—you can do your nails while catching up on your favorite Netflix series at midnight if you want!
- Healthier Nails (When Done Right): Many people find that gel polish actually protects their natural nails from daily wear and tear better than regular lacquer does.
It’s all about reclaiming your time and money. Do you prefer the classic salon experience, or are you ready to embrace the DIY life? Let me know your thoughts in the comments! For more on minimal beauty hacks, check out this guide on modern aesthetics.
2. The Essential Toolkit: Your Shopping List
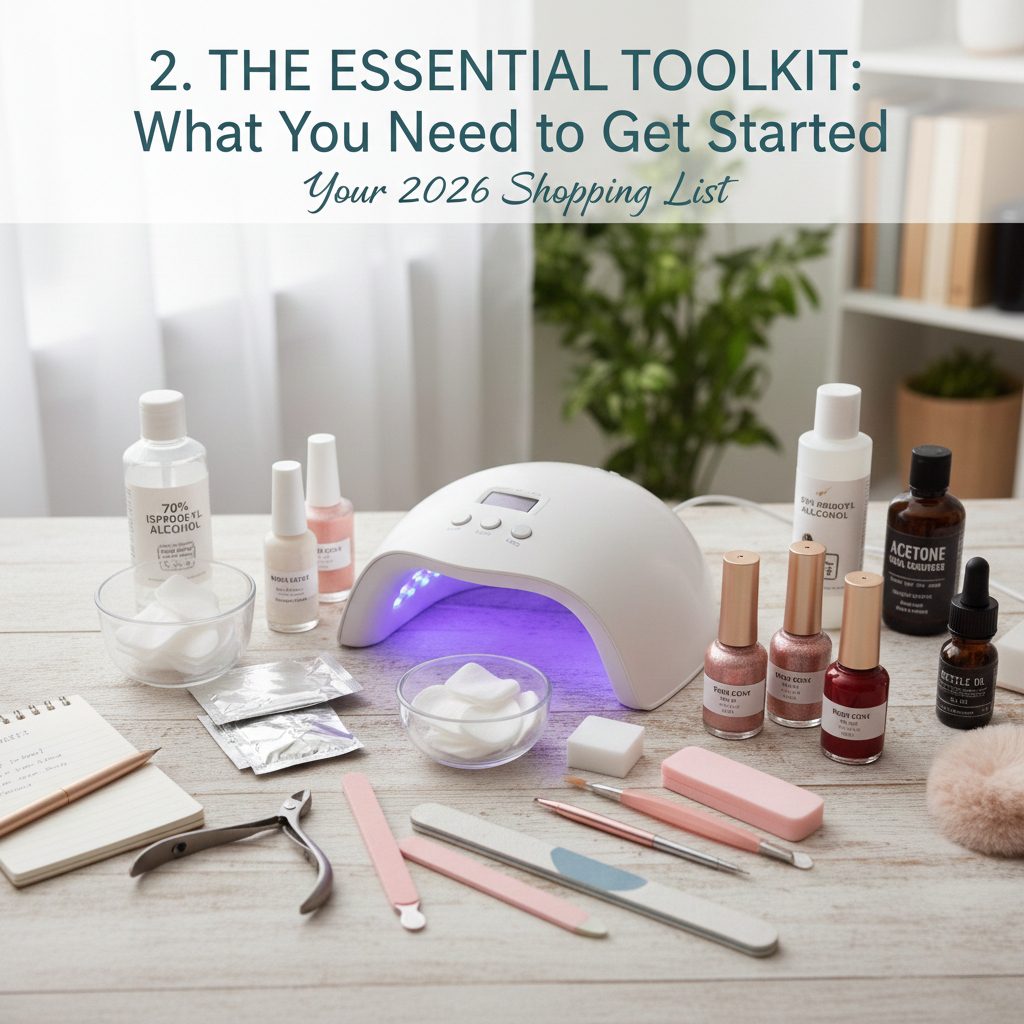
To get those “did you go to a salon?” compliments, you cannot cut corners with your tools. Here is exactly what you need to start your at-home gel manicure journey in 2026:
- LED/UV Lamp: Don’t just grab the cheapest one. Look for at least 48W so your polish cures quickly and evenly. A good lamp is the heart of your setup.
- Gel Base & Top Coat: Think of these as the foundation and the roof of your house. They are the “glue” and the “shield” for your color. Never mix brands between base and top coat if you can help it.
- Quality Polishes: Brands like Gelish or Modelones are fantastic for home users because they are pigmented and don’t flood the cuticle.
- Prep Tools: A 180-grit nail file, a buffer block, and a metal cuticle pusher. Please avoid plastic pushers if you can—metal is much more precise for cleaning the nail plate.
- Cleanser: 70% Isopropyl alcohol is your best friend for removing that annoying “tacky” layer at the end.
- Lint-Free Wipes: Regular cotton balls leave fibers behind that will get stuck in your gel. Always use lint-free wipes!
3. Phase 1: Preparation (The Real Secret)
Listen to me closely: the biggest reason at-home manicures peel after three days is poor prep work. If you rush this, the whole thing will pop off.
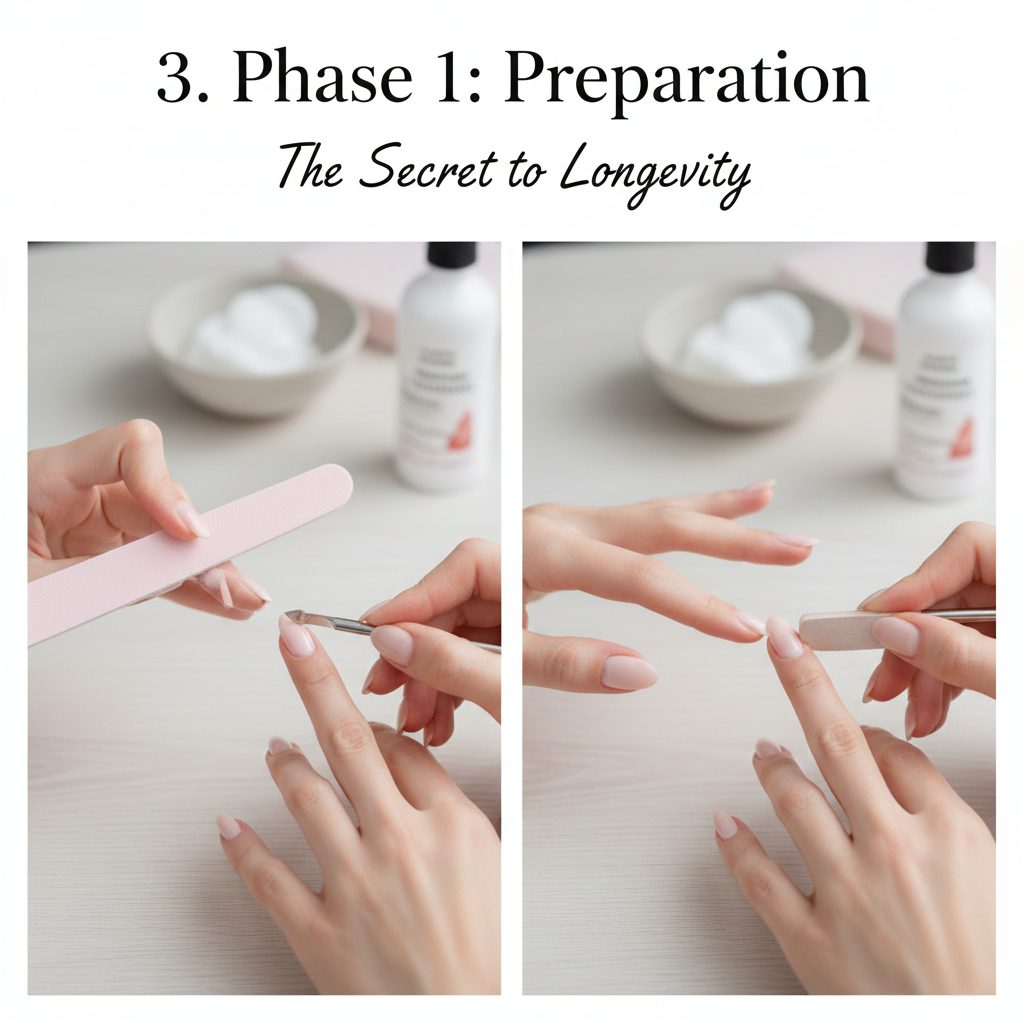
Dehydrate: This is the step most people skip! Wipe each nail thoroughly with alcohol to remove natural oils. Even a tiny bit of oil left on the nail plate acts as a barrier that prevents the gel from sticking.
Shape Your Nails: File in one direction only. Sawing back and forth causes micro-tears that lead to splitting.
Tackle the Cuticles: Gently push them back. This is crucial—gel polish should never touch your skin. If it touches your skin, it will lift.
Buff the Surface: Use a fine buffer to remove the natural shine from your nail plate. You aren’t trying to grind your nail down, just create a “grip” for the base coat.
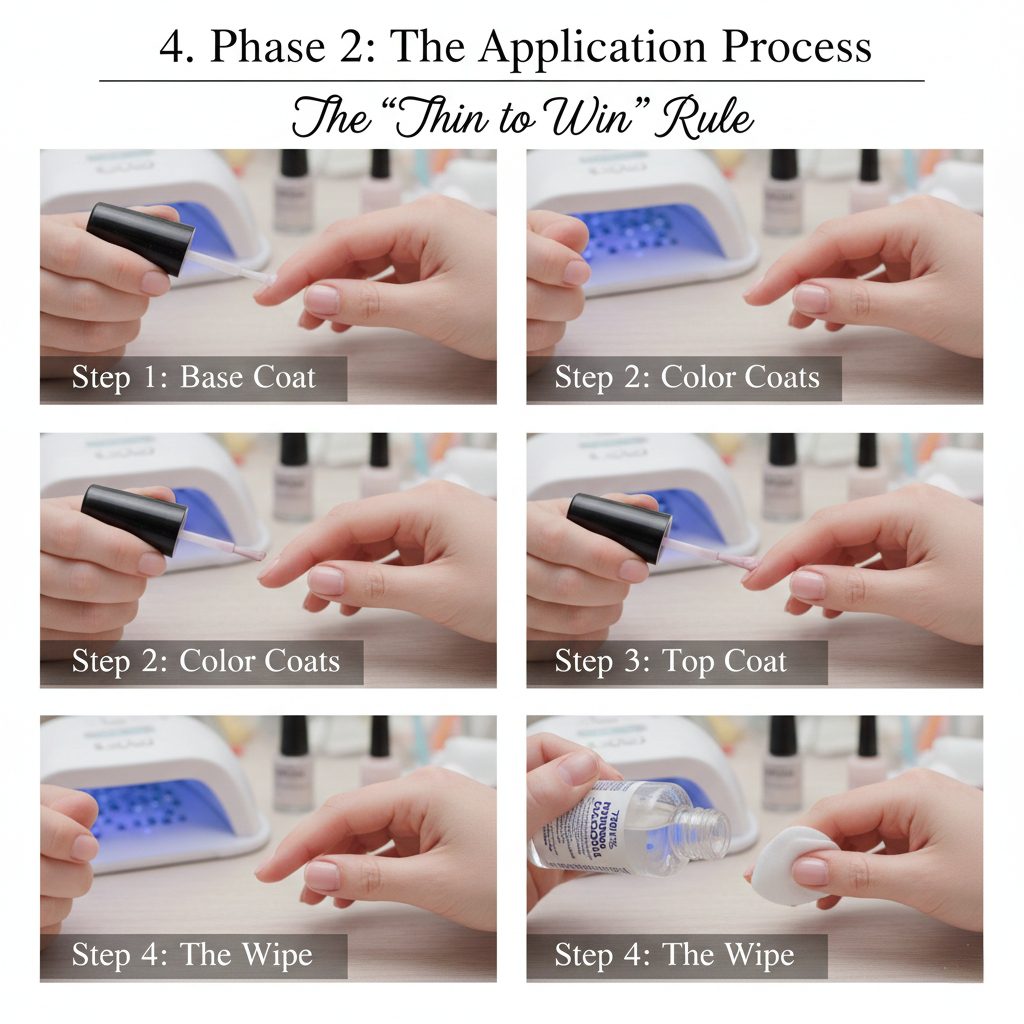
4. Phase 2: The Application Process
Remember the “Thin to Win” rule. This is your golden ticket to a professional look.
Step 1: The Base Coat: Apply a super thin layer. Make sure you “seal the free edge”—that means running the brush horizontally across the very tip of your nail. Cure for 30-60 seconds.
Step 2: Color Coats: Apply your first thin layer of color. If it looks a bit streaky, don’t panic! That is totally normal. Cure for 60 seconds. Repeat for a second coat, and suddenly, you’ll see that solid, opaque color you were hoping for.
Step 3: The Top Coat: This provides that high-shine finish. Apply it carefully, again sealing the edges, and cure for 60-90 seconds.
Step 4: The Wipe: If you aren’t using a “No-Wipe” top coat, take a lint-free wipe with some alcohol and swipe away that sticky residue. Your nails will be instantly dry and ready to go!
5. Pro Tips for a Professional Finish
Want to take your at-home gel manicure to the next level? Here are a few tricks of the trade:
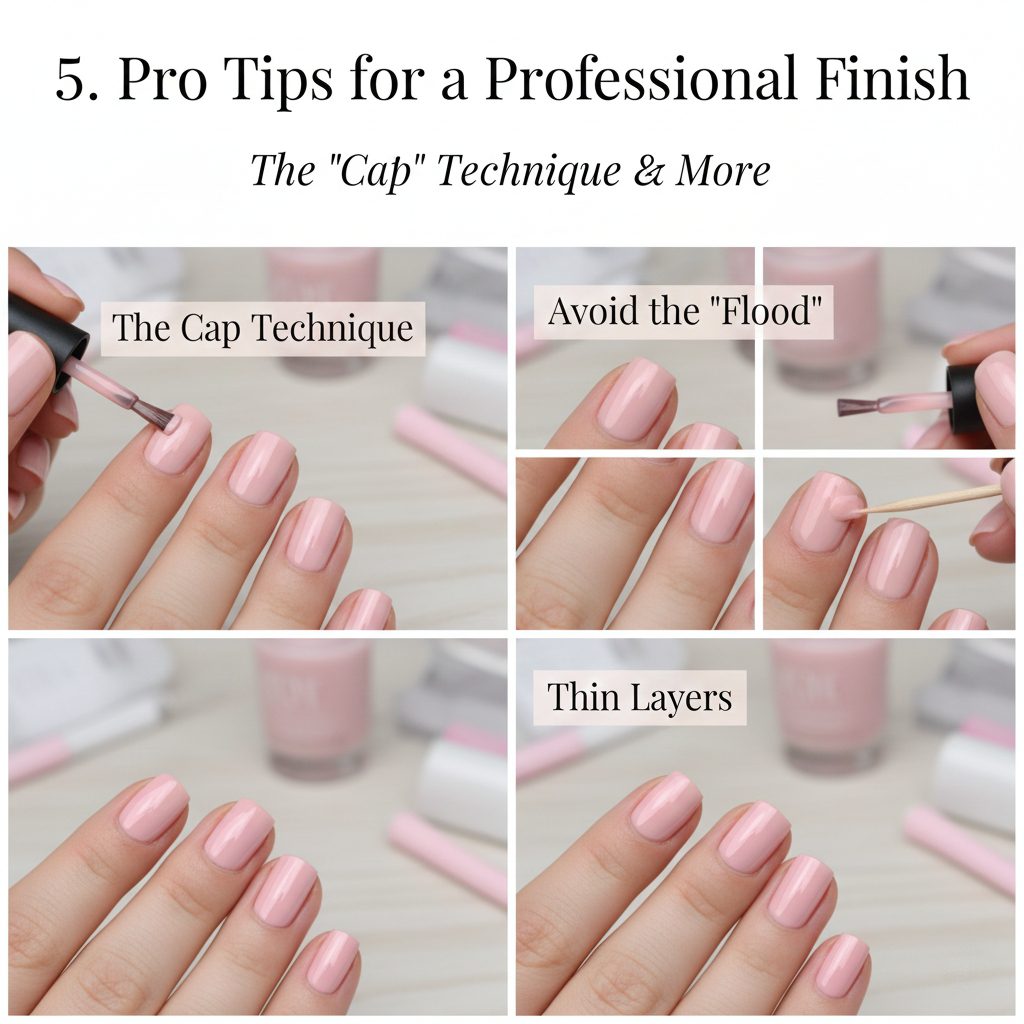
- The “Cap” Technique: Always run the brush along the very edge of your nail tip. This “caps” the gel and prevents the tip from wearing down or chipping too fast.
- Avoid the “Flood”: If you accidentally get polish on your skin or cuticle, wipe it off with a toothpick before you put your hand in the lamp. Once it’s cured, that polish is permanent, and it will start lifting within days.
- Thin is Better: Three thin layers are always better than one thick layer. Thick layers don’t cure properly and will likely bubble or peel off in a whole sheet.
For more professional nail care tips, I highly recommend checking out Allure’s expert beauty advice.
6. How to Safely Remove Gel Without Damage
The damage doesn’t happen during the application; it happens during the removal!
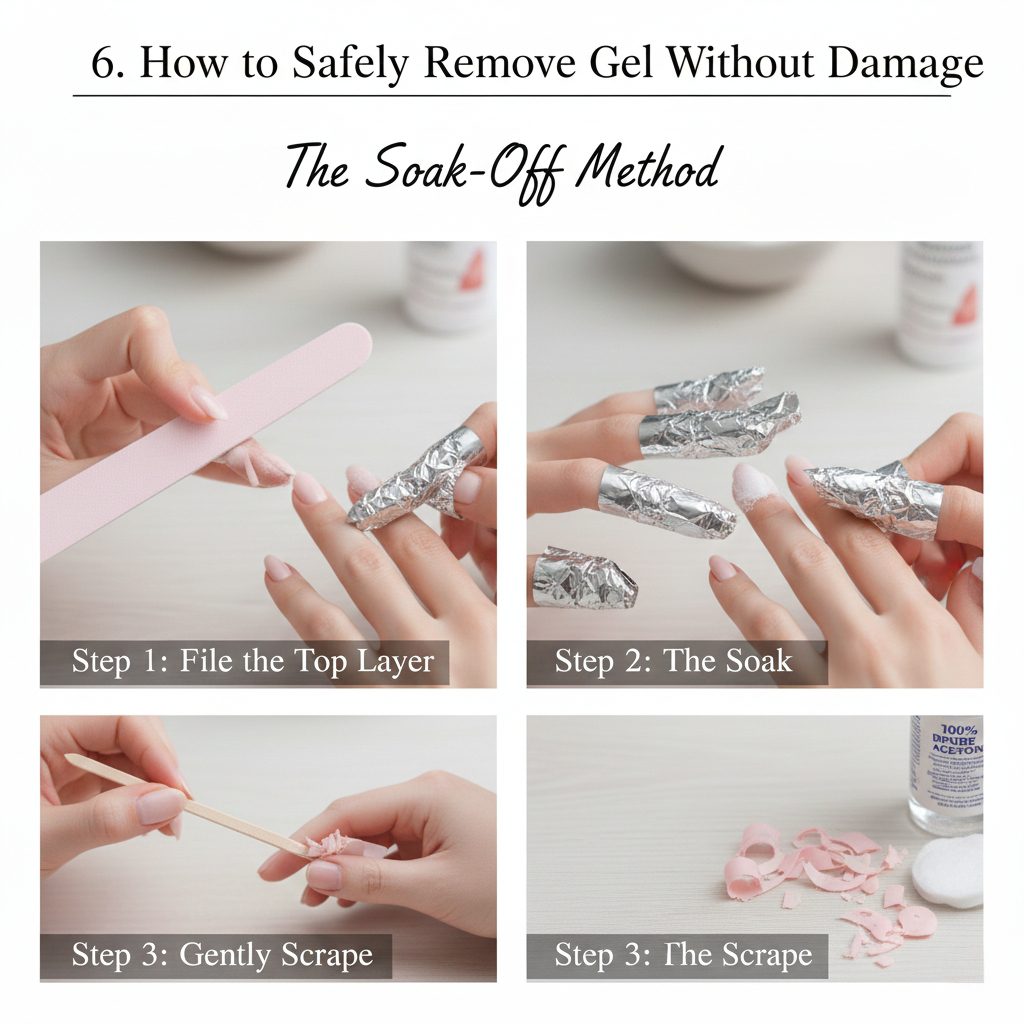
Gently Scrape: When you take the foil off, the polish should look like a soggy, flaky mess. Gently scrape it off with your pusher. Never, ever force or peel it off, or you will take layers of your natural nail with it!
File the Top Layer: Take a file and break the seal of the top coat. You don’t need to file all the way down to the nail, just scuff up the surface so the acetone can penetrate.
The Soak: Use 100% pure acetone on a cotton ball, place it on your nail, and wrap your fingertip in foil. Wait 10-15 minutes.
7. Troubleshooting Common Mistakes
How often should I take a break? If your nails feel thin or sensitive, take a week off and use a strengthening treatment. Your nail health is always the priority.
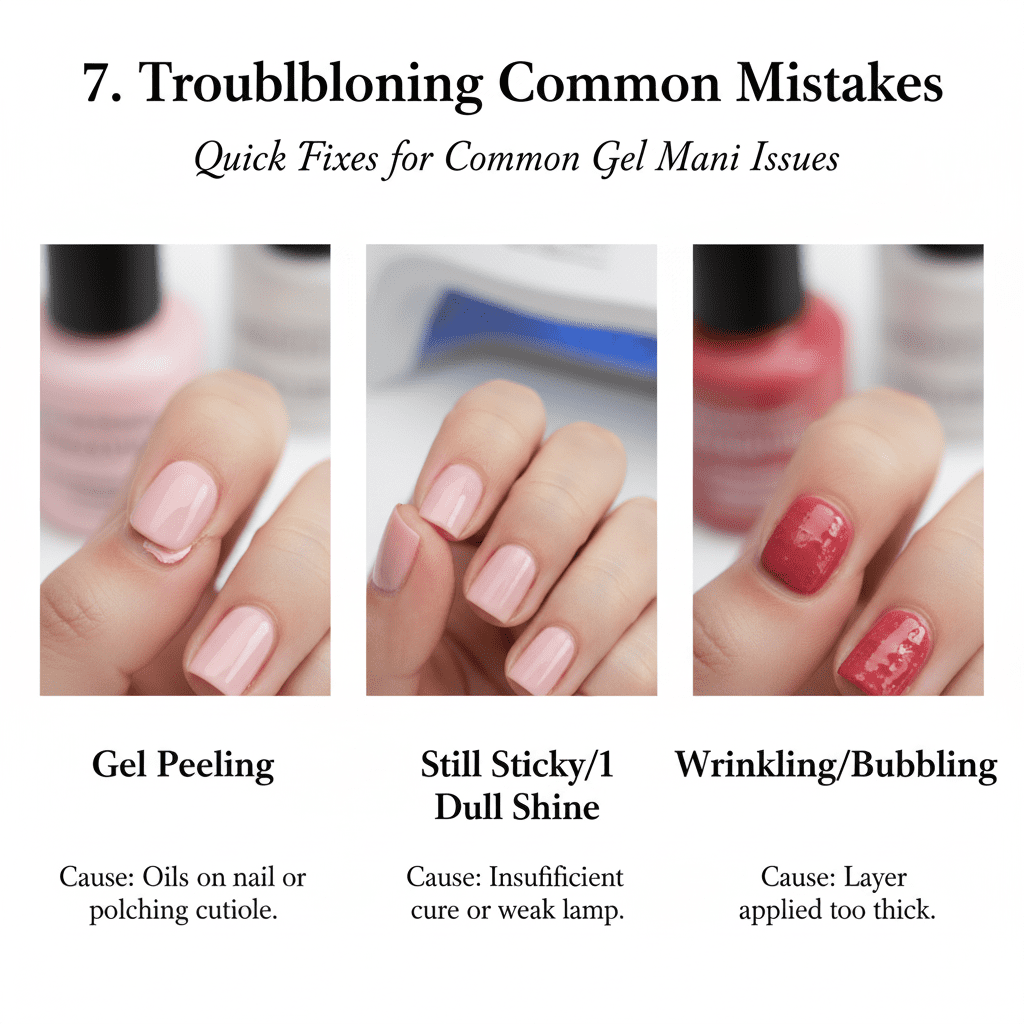
Why is my gel peeling? Usually, it’s oils left on the nail or polish touching the cuticle. Next time, spend an extra two minutes on prep!
Why is it still sticky? You might need to wipe it with more alcohol, or your lamp’s bulbs might be getting old. LED lamps do need replacing every few years.
Why is it wrinkling? The layer was too thick. When the light hits a thick layer, it cures the top instantly but can’t penetrate to the bottom, causing it to buckle.
Why Consistency is Key
When you start doing your own nails, you might find that your first set isn’t 100% perfect. That is completely okay! Like any skill, nail artistry is about muscle memory. The more you practice your “capping” technique and cuticle management, the faster you will get. Soon, you’ll be able to complete a full manicure in under 30 minutes. Think of the money you’ll save over the year—that’s potentially enough to fund a whole new handbag collection!
If you’re still on the fence about the costs, read our Affordable Designer Bag Alternatives post to see what you could be buying with your saved salon money!
Conclusion
Mastering the at-home gel manicure is a total game-changer for any fashion enthusiast on a budget. With a little bit of patience, the right tools, and these steps, The Style Click believes everyone can have beautiful, professional-looking hands every single day. Start your DIY journey today—and save that salon money for the next designer handbag you’ve been eyeing!
Are you ready to try this at home? Let me know which color you’re planning to use for your first set in the comments below!