Achieving salon-quality nails doesn’t have to mean spending hours at a parlor or burning a hole in your pocket. In fact, some of the most sophisticated nail looks are the ones you create yourself in the comfort of your living room. Whether you are a total beginner or just looking to switch up your routine, mastering these DIY nail styles is a game-changer.
Ready to elevate your nail game without the hassle? Let’s dive into five beginner-friendly, stunning nail art ideas that look professional, clean, and totally chic.
Why DIY Your Manicure?
Before we get to the techniques, let’s talk about the “why.” Doing your own nails isn’t just about saving money; it’s a form of self-care. It’s that one hour of the week where you put your phone away, listen to your favorite podcast, and focus on something creative. Plus, when you master these basics, you gain the freedom to match your nails to your mood or outfit whenever you want.
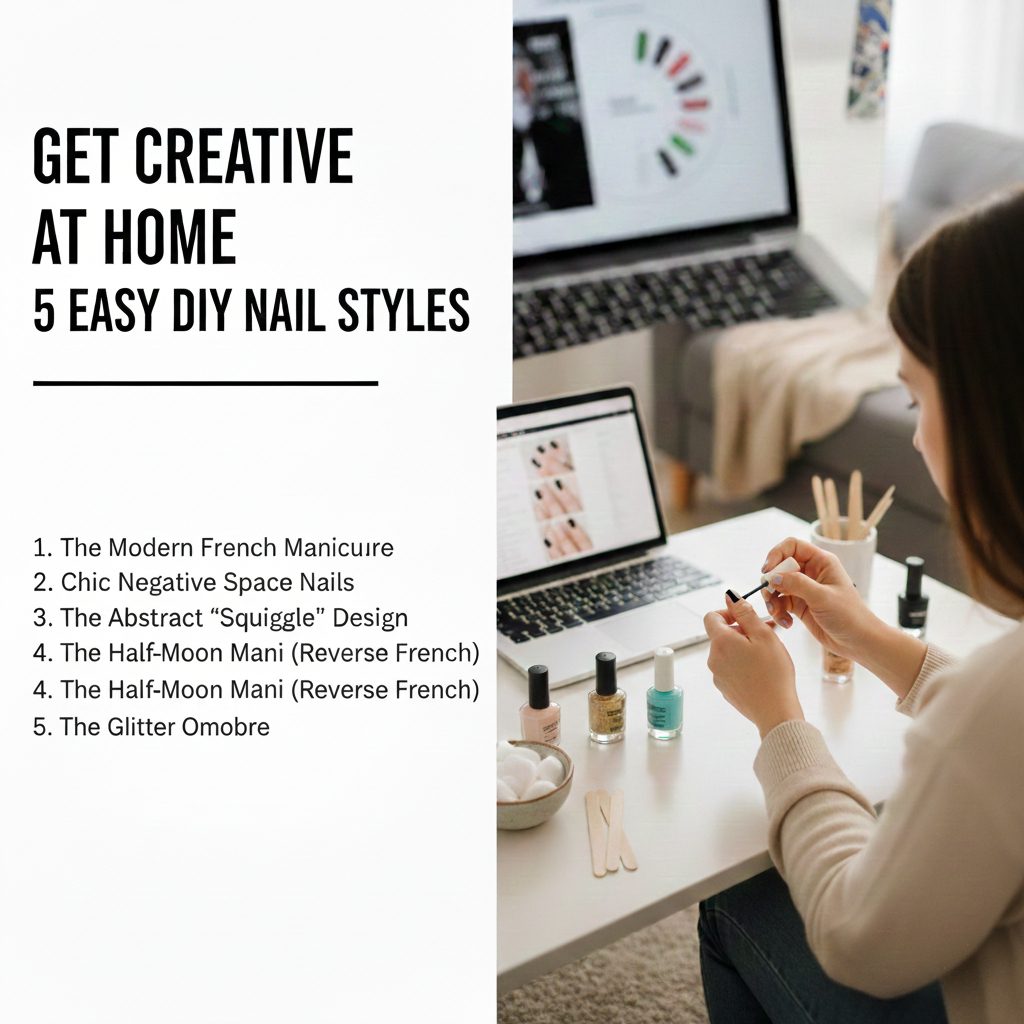
5 Easy DIY Nail Styles
To ensure your DIY manicure lasts, always start with clean, dry nails. Pro tip: Clean your nail beds with a little bit of nail polish remover even if you aren’t wearing polish—it removes natural oils and helps the polish stick longer!
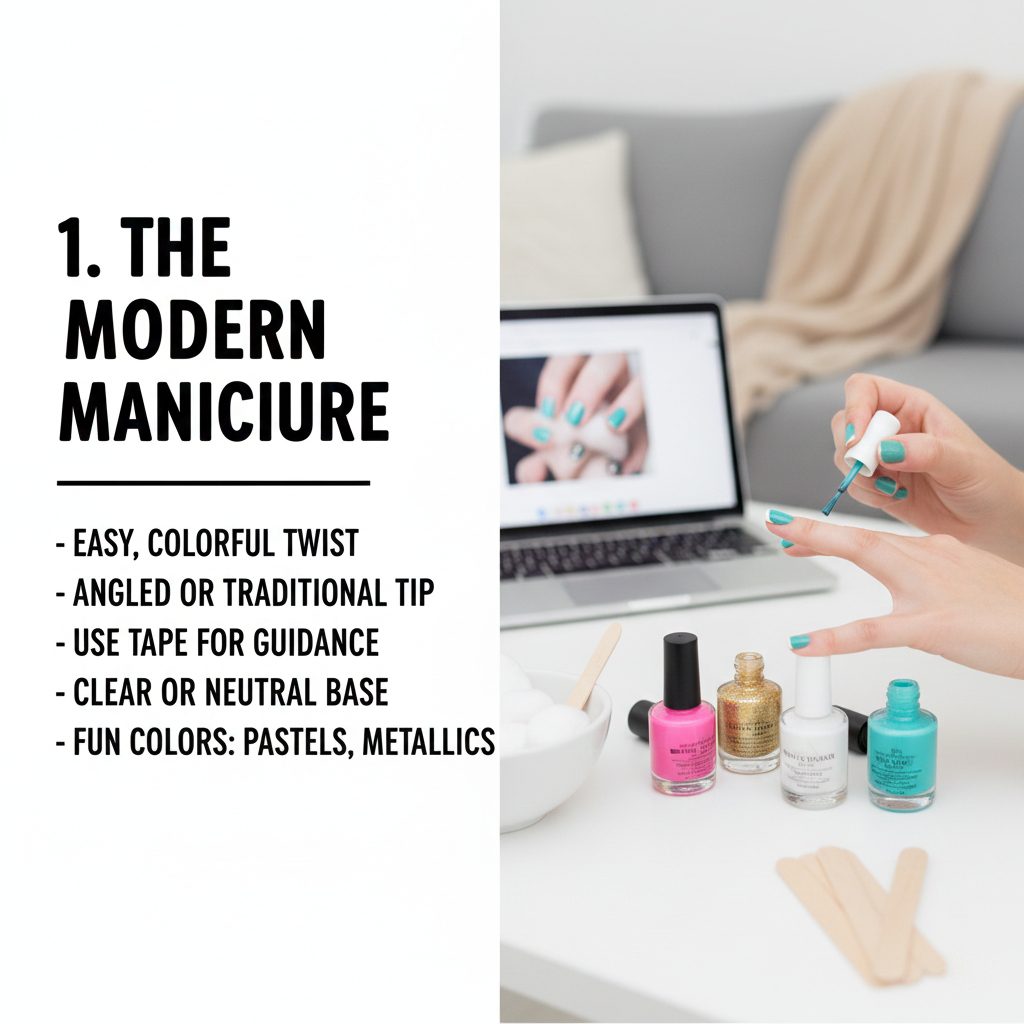
1. The Modern French Manicure: Easy DIY Nail Styles for 2026
The classic French tip is timeless, but we are upgrading it for 2026. Forget the struggle of drawing perfectly straight white lines—we are focusing on color and ease.
- What You Need: Base coat, your favorite pastel or metallic polish, and a top coat.
- The Technique: Instead of traditional white, paint just the very tips of your nails in a vibrant or soft hue. If your hand is shaky, use the side of your brush or a small piece of scotch tape to create a clean, angled line. Keep the base clear or a soft nude to make the color pop.
2. Chic Negative Space Nails
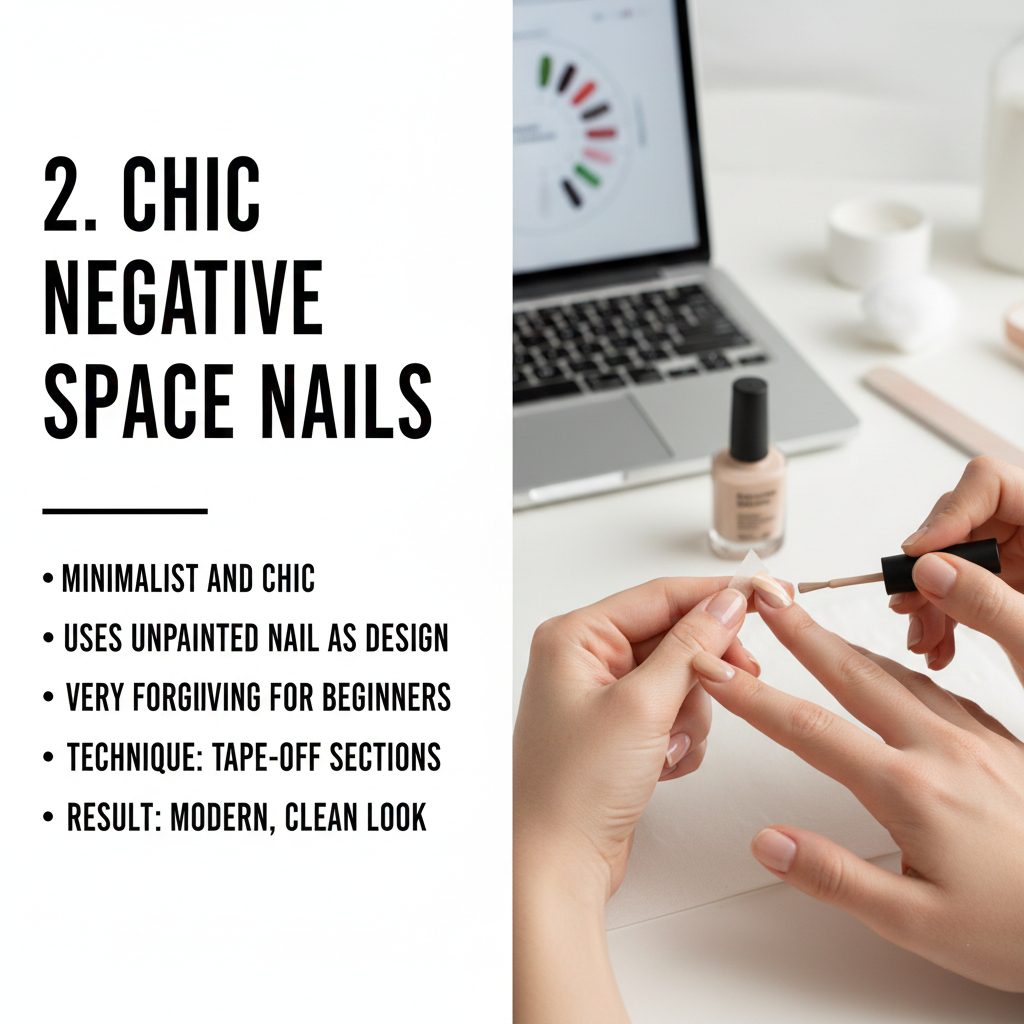
Negative space” nail art is all about using your natural, unpainted nail as part of the design. It’s arguably the most minimalist and “expensive-looking” trend right now.
- What You Need: Base coat, one neutral polish, and a thin piece of tape.
- The Technique: Paint your base coat. Once dry, place a thin piece of tape diagonally across your nail. Paint the exposed section, wait for it to be 80% dry, and peel the tape. This creates a sharp, professional design that looks like you spent hours on it.
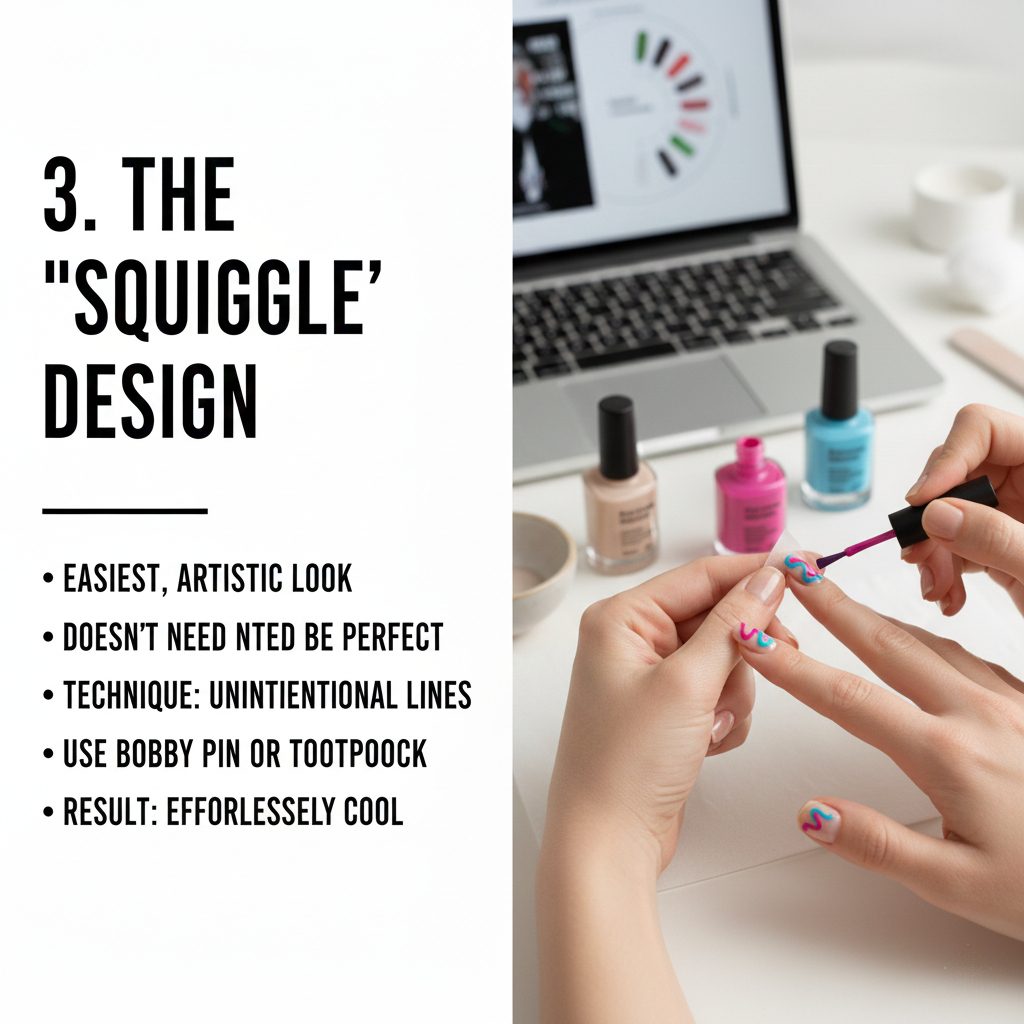
3. The Abstract “Squiggle” Design
Love art but hate precision? This is for you. Abstract art is all about the “imperfect” look.
- What You Need: A nude base, a bold contrasting color, and a bobby pin.
- The Technique: Dip the ball end of a bobby pin into your polish and gently drag it across the nail in a wavy, squiggle line. You don’t need to be an artist; just go with the flow. Two squiggles per nail look best. It’s effortless, modern, and totally unique.
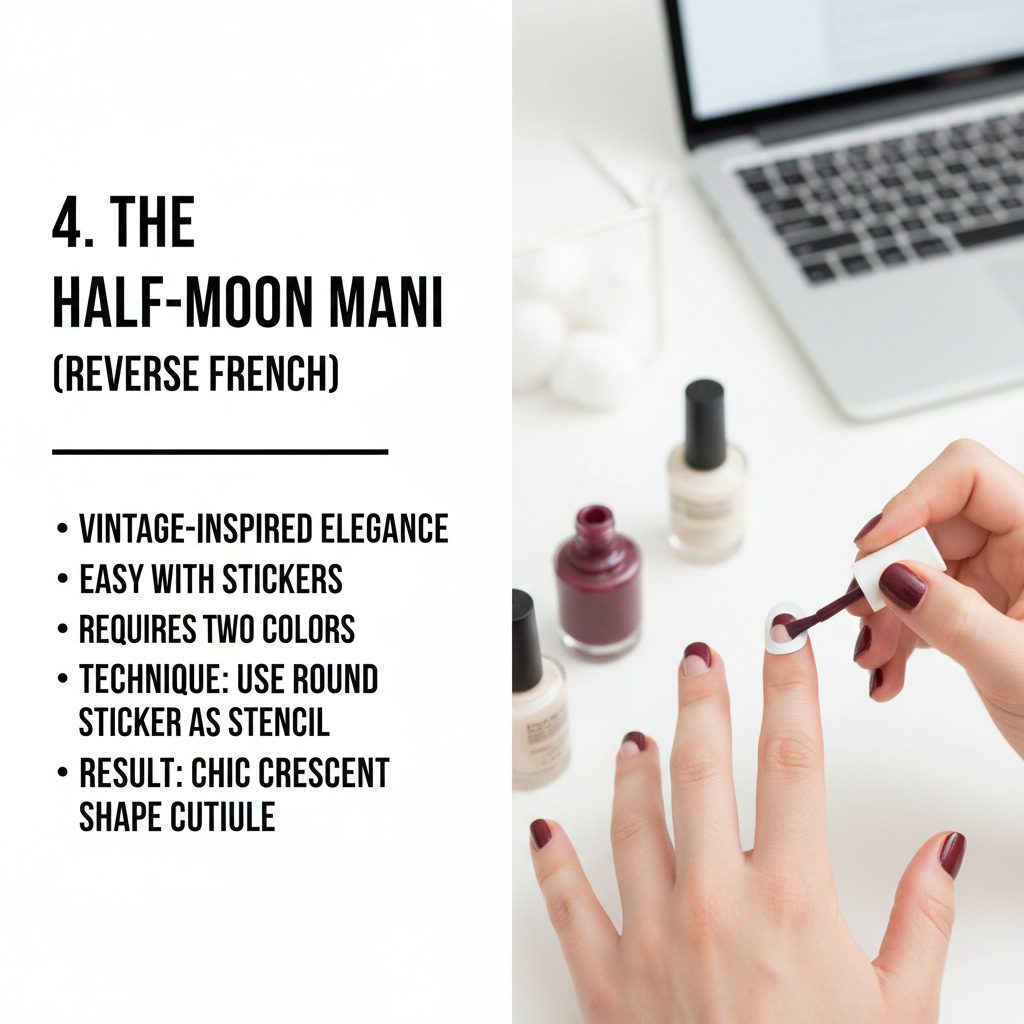
4. The Half-Moon Mani (Reverse French)
This vintage-inspired look is incredibly elegant. It draws attention to the base of your nail and gives a very sophisticated, “old-money” vibe.
- What You Need: Two contrasting colors (e.g., deep red and gold) and hole reinforcement stickers.
- The Technique: Paint your base color and let it dry completely. Place the reinforcement sticker near your cuticle, leaving a small “moon” shape exposed. Paint over it with your second color, peel the sticker, and—voila! You have a perfect half-moon design.
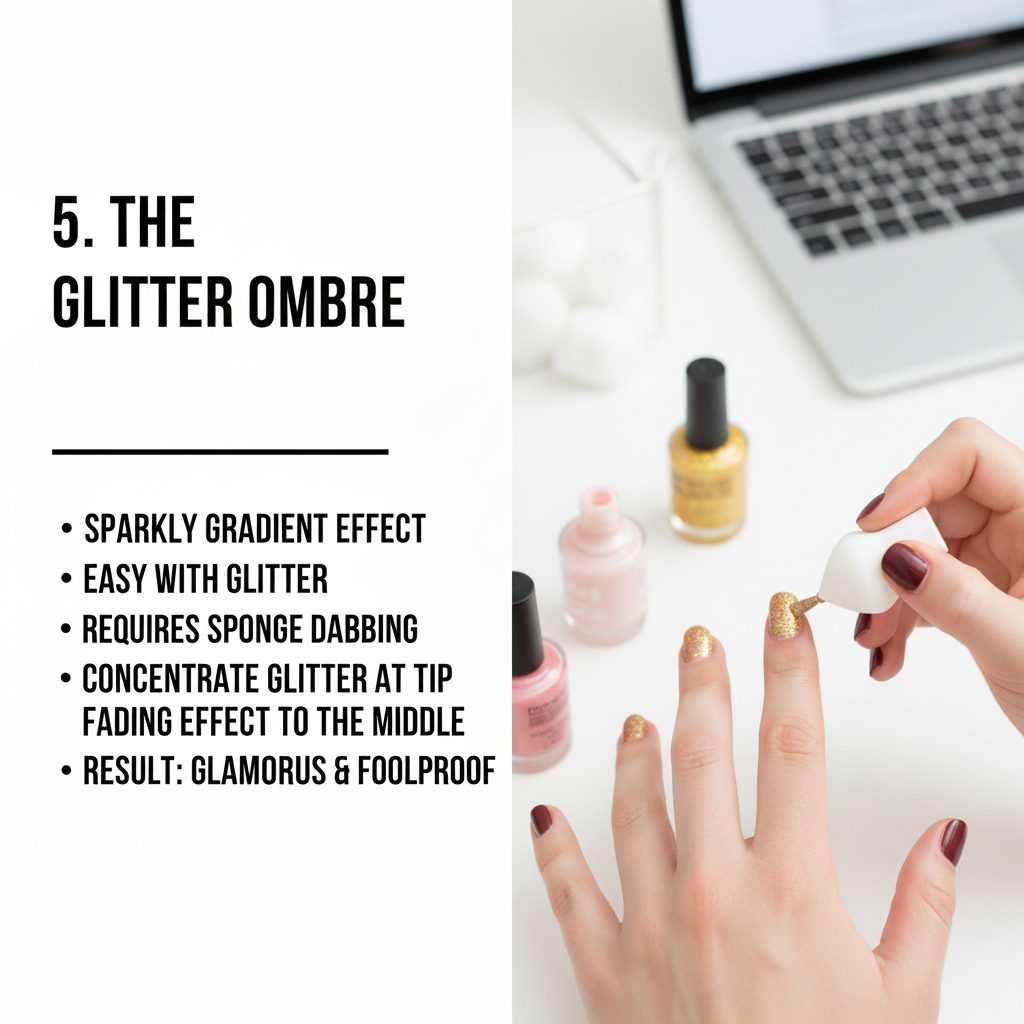
5. The Glitter Ombre
Creamy gradients can be a headache, but glitter makes it foolproof. It’s perfect for adding sparkle without looking messy.
- What You Need: A base color, glitter polish, and a simple makeup sponge.
- The Technique: Paint your base color. Apply a thick coat of glitter to the corner of a makeup sponge. Gently dab the sponge onto the tip of your nail, fading it toward the center. This concentrates the sparkle where it looks best and creates a seamless gradient.
Pro Tips for Long-Lasting Results
- Don’t Skip the Base Coat: It prevents staining and helps your manicure last 3-4 days longer.
- Seal the Edges: Always brush a little bit of top coat over the “free edge” (the tip) of your nail to prevent chipping.
- Hydrate: A little cuticle oil goes a long way in making your hands look healthy and polished.
Conclusion: Get Your DIY Nail Styles On
These simple nail art ideas prove that you don’t need an expensive salon membership to look great. By experimenting with these techniques, you’ll find what works best for your hand shape and personal style.
Ready to explore more ways to look your best?
Check out our latest guide on The Ultimate Guide to At-Home Gel Manicures to keep your overall presentation as sharp as your nails!